Introduction
Installing drywall in your basement suite can significantly enhance the functionality and aesthetics of your living space. This comprehensive guide will walk you through the essential tips and techniques for a successful drywall installation in your Edmonton basement suite. From understanding the importance of proper drywall installation to navigating the challenges and nuances specific to basement environments, this article will provide homeowners with the knowledge they need to tackle this project confidently.
Implementing the right techniques for Basement Suite Edmonton Drywall can elevate your space’s functionality.
Understanding Basement Drywall Installation
Importance of Proper Drywall Installation
Proper drywall installation is critical in creating a sound and visually appealing basement suite. It serves as a barrier against moisture, helps insulate the space, and provides a canvas for painting and decorating. When installed correctly, drywall can also improve the overall energy efficiency of the suite. Additionally, a well-finished drywall surface can increase the property value, making it a worthwhile investment for homeowners.
Utilizing Basement Suite Edmonton Drywall can provide a solid foundation for any design.
Improper installation, however, can lead to numerous problems, including cracks, mold growth, and structural integrity issues. Therefore, understanding the installation process and common pitfalls is essential for ensuring a long-lasting and effective drywall application.
Inadequate Basement Suite Edmonton Drywall can result in significant maintenance challenges.
Common Challenges in Basement Drywall
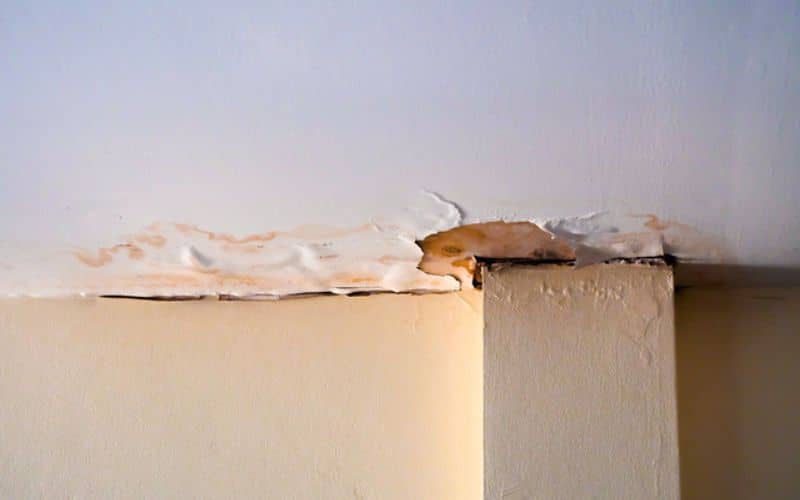
Basements present unique challenges compared to other areas of the home. One of the most significant issues is moisture. Basements are often prone to humidity and leaks, which can cause drywall to warp, mold, or deteriorate over time. Addressing moisture issues before starting the drywall installation is paramount to ensuring a durable outcome.
Addressing moisture prior to Basement Suite Edmonton Drywall installation is key to success.
Another challenge is the framing of the walls, which can be less straightforward in basements than in other parts of a home. Uneven floors or existing utility lines can complicate the installation process, requiring careful planning and additional modifications to ensure a smooth installation.
Planning Your Drywall Project
Key Considerations for Basement Suite Edmonton Drywall Installation
Assessing Your Space
Successful Basement Suite Edmonton Drywall installation begins with careful planning.
The first step in planning your drywall project is to assess your basement space thoroughly. Measure the dimensions of the walls where the drywall will be installed. This assessment will help you calculate the amount of drywall needed and identify any obstacles such as windows, doors, or ductwork that may affect installation.
Additionally, consider the layout of your basement suite. Plan for the placement of electrical outlets, light switches, and any built-in features. Having a clear understanding of your space will streamline the installation process and prevent costly mistakes.
Ensure optimal use of space by planning for Basement Suite Edmonton Drywall carefully.
Choosing the Right Materials
Choosing the right materials is crucial for the success of your drywall installation. For basements, it’s advisable to use moisture-resistant drywall, often referred to as green board or purple board, which is specifically designed to withstand humid conditions. This type of drywall helps mitigate the risk of mold and mildew growth, making it ideal for basement environments.
Moisture-resistant materials are essential for Basement Suite Edmonton Drywall projects.
In addition to drywall, you will also need various supplies such as screws, tape, joint compound, and primer paint. Selecting high-quality materials will ensure a smoother installation process and a more polished finish.
Tools Required for Installation
Before beginning your drywall installation, ensure you have all the necessary tools at hand. Essential tools include:
- Drywall saw or utility knife
- Drywall T-square
- Drill and screw gun
- Tape measure
- Level
- Joint knife and mud pan
- Sander and sanding block
Having the right tools will not only expedite the installation process but also enhance the final outcome of your drywall project.
Equipping yourself with tools for Basement Suite Edmonton Drywall will enhance the process.
Preparing Your Basement for Drywall
Inspecting for Moisture Issues
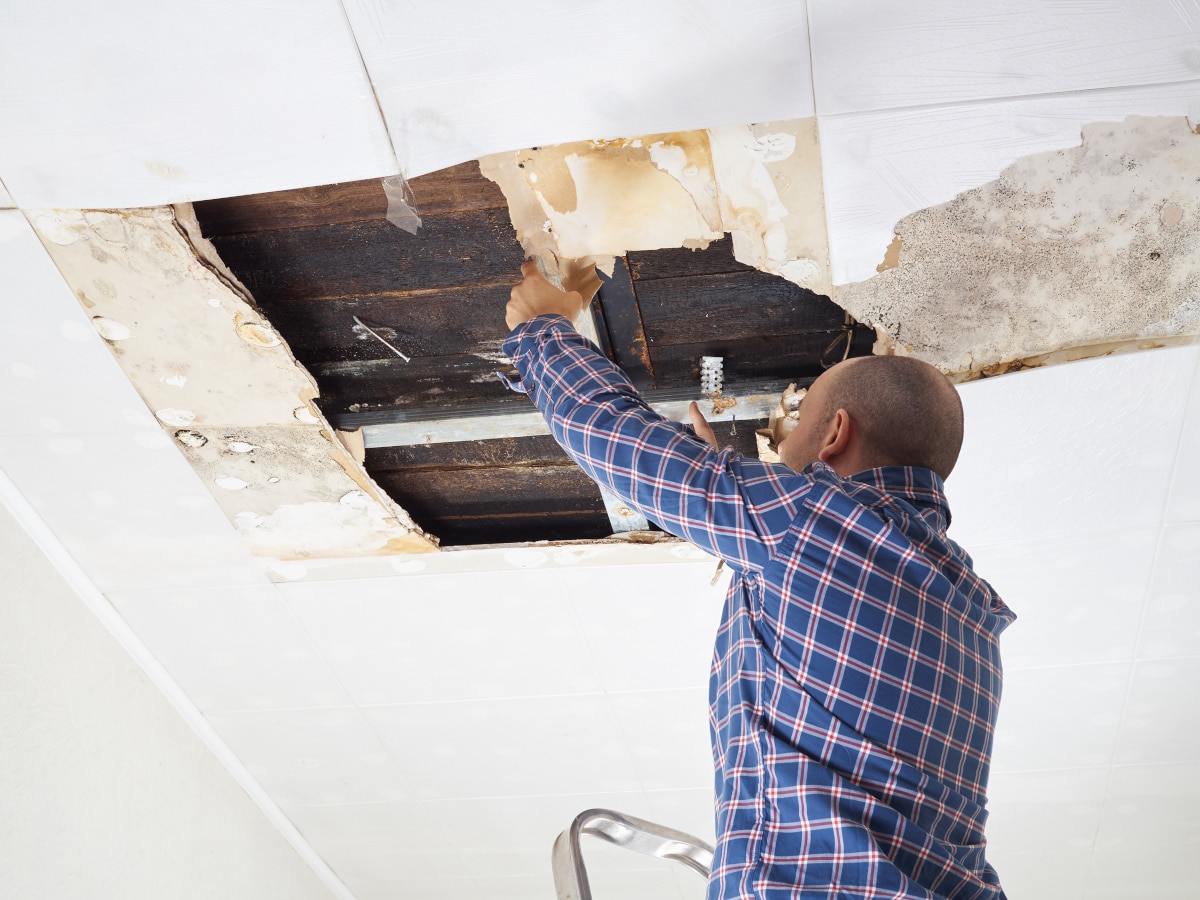
Before installation, conduct a thorough inspection of your basement for any moisture issues. Look for signs of water damage, such as stains on the walls or ceiling, mold growth, or damp odors. If you notice any moisture problems, it is essential to address them before proceeding with drywall installation.
Inspecting for moisture prior to Basement Suite Edmonton Drywall installation is crucial.
Common solutions include installing a dehumidifier, repairing leaks, or applying waterproofing sealants to the walls. Ensuring that your basement is dry and well-ventilated will contribute to the longevity of your drywall and maintain a healthy living environment.
Framing Your Basement Walls
Once moisture issues have been addressed, the next step is to frame your basement walls. This involves building a wooden frame that will support the drywall. Start by marking the layout on the floor and walls, indicating where the studs will be placed. The standard distance between studs is 16 inches, but this can vary based on your specific design needs.
Use pressure-treated lumber for the bottom plates, which will help prevent moisture-related issues. Securely fasten the frame to the floor and ensure everything is level and square before proceeding with the installation of drywall.
Framing is a vital step in Basement Suite Edmonton Drywall installation.
Drywall Installation Process
Measuring and Cutting Drywall Sheets
With the framing in place, it’s time to measure and cut your drywall sheets. Begin by measuring the height and width of each wall to determine the appropriate size for your sheets. Mark your measurements on the drywall using a T-square and utility knife for clean cuts.
When cutting drywall, it’s essential to score through the front layer and snap the board along the cut line. Finish by cutting through the paper backing. Always wear safety goggles and a dust mask to protect yourself from dust and debris during this process.
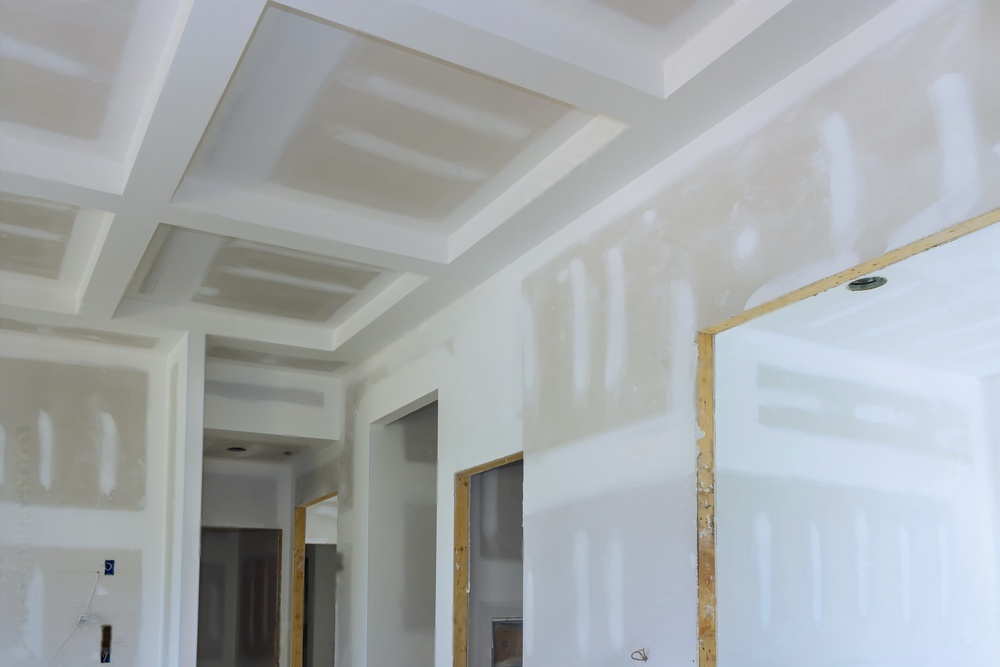
Hanging Drywall Panels
Next, it’s time to hang your drywall panels. Begin at one corner of the room and work your way across. Hold the drywall sheet in place and secure it to the framing using drywall screws, ensuring the screws are slightly recessed into the board without breaking the paper surface. Use a screw gun for efficiency.
Continue this process until all panels are hung. Be mindful of the seams where two drywall sheets meet, as proper alignment will be crucial for a smooth finish. Additionally, stagger the seams between rows to strengthen the wall’s overall integrity.
Securing the Drywall
Once all drywall sheets are in place, ensure that they are securely fastened. Check for any loose areas and add additional screws as necessary. The goal is to create a solid surface that minimizes movement and vibration, which can lead to cracking and damage over time.
Securing Basement Suite Edmonton Drywall correctly is essential for durability.
After securing the panels, it’s essential to inspect each seam and edge for gaps or unevenness. This initial check will help minimize the amount of mudding and sanding required in the finishing stages.
Finishing Touches After Installation
Finishing touches on Basement Suite Edmonton Drywall enhance the overall appearance.
Taping and Mudding Seams
The next step is tapering and mudding the seams. Begin by applying a layer of joint compound over the seams using a joint knife. Place drywall tape on top of the compound and smooth it down to ensure good adhesion. Apply another layer of joint compound over the tape, feathering the edges to create a seamless appearance.
Taping and mudding are key to a flawless Basement Suite Edmonton Drywall finish.
Allow the compound to dry completely, which may take several hours or overnight. Once dried, sand the area gently to achieve a flat surface, taking care not to damage the surrounding drywall.
Sanding and Smoothing Surfaces
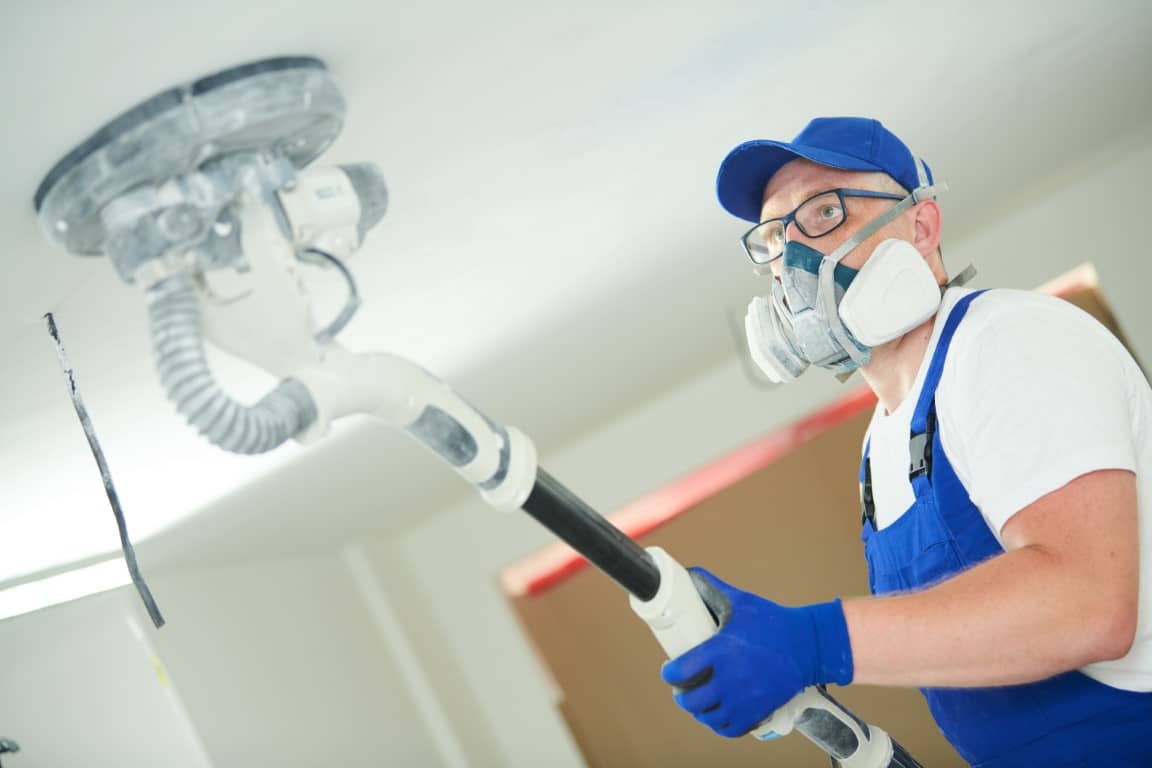
After the initial mudding has dried, it’s time for sanding. Use a fine-grit sanding block or pole sander to smooth out the joint compound. Sanding is a critical step, as it prepares the surface for priming and painting. Ensure that you wear a mask and goggles to protect yourself from dust during this process.
Sanding is a critical step in preparing Basement Suite Edmonton Drywall for paint.
Once smooth, wipe down the walls with a damp cloth to remove any dust particles. Depending on the quality of your initial application, you may need to apply additional layers of joint compound and sand again for a perfectly finished surface.
Priming and Painting Your Drywall
Priming your Basement Suite Edmonton Drywall is essential for long-lasting results.
After achieving a smooth finish, it’s time to prime and paint your drywall. Applying a primer is essential, especially in basement areas where moisture can be a concern. A high-quality primer will help seal the drywall, providing an even base for paint and enhancing the durability of your finish.
Once the primer is dry, choose a suitable paint for your basement environment. Consider using paint with mildew resistance for added protection. Apply at least two coats of paint for a vibrant and lasting finish, and allow sufficient drying time between coats.
Conclusion
Installing drywall in your Edmonton basement suite is a rewarding project that can transform your space into a functional and inviting area. By following the comprehensive steps outlined in this guide—from assessing moisture issues, selecting the right materials, and executing the installation process, to finishing touches—you can ensure a successful drywall installation.
Successful Basement Suite Edmonton Drywall installation leads to improved property value.
With careful planning and execution, your basement suite will not only serve your immediate needs but also enhance the overall value of your home. Embrace the journey of transforming your basement with confidence, knowing you’ve equipped yourself with the knowledge to achieve stunning results.
Additional Resources and References
FAQs
Understanding Basement Suite Edmonton Drywall helps address common homeowner questions.
1. What types of drywall are best for basements?
Moisture-resistant drywall, such as green board or purple board, is recommended for basements to prevent mold and moisture damage.
Moisture management is vital in Basement Suite Edmonton Drywall installations.
2. How can I prevent moisture issues in my basement drywall?
Address any leaks, use a dehumidifier, and apply waterproofing sealants on walls to manage moisture levels effectively.
Utilizing Basement Suite Edmonton Drywall effectively can transform your living space.
3. How long does it take for drywall compound to dry?
Drying times may vary based on humidity levels, but typically it takes 24 hours for each coat of joint compound to dry completely.
Understanding drying times is crucial for Basement Suite Edmonton Drywall completion.
4. Can I install drywall myself, or should I hire a professional?
If you have basic DIY skills and the right tools, you can install drywall yourself. However, hiring a professional may be beneficial for complex projects.
DIY Basement Suite Edmonton Drywall projects are feasible with the right skills.
5. What should I do if I notice cracks in my drywall after installation?
Monitor the cracks for further movement. If they worsen, you may need to address underlying issues such as structural shifts or moisture problems.
Monitoring your Basement Suite Edmonton Drywall after installation is essential for maintenance.